How to paint a turtle on a rock

You will find on this page a step-by-step guide to create your own turtle. It's a really original decoration to brighten up your garden and you can say : I made it by myself 🤗💪🥳 !
The steps
Choice of pebbles
The hardest part is finding 6 smooth pebbles with the right shape :
- A large round pebble for the body
- A slightly elongated medium pebble for the turtle's head
- And 4 small elongated pebbles of the same size for the legs
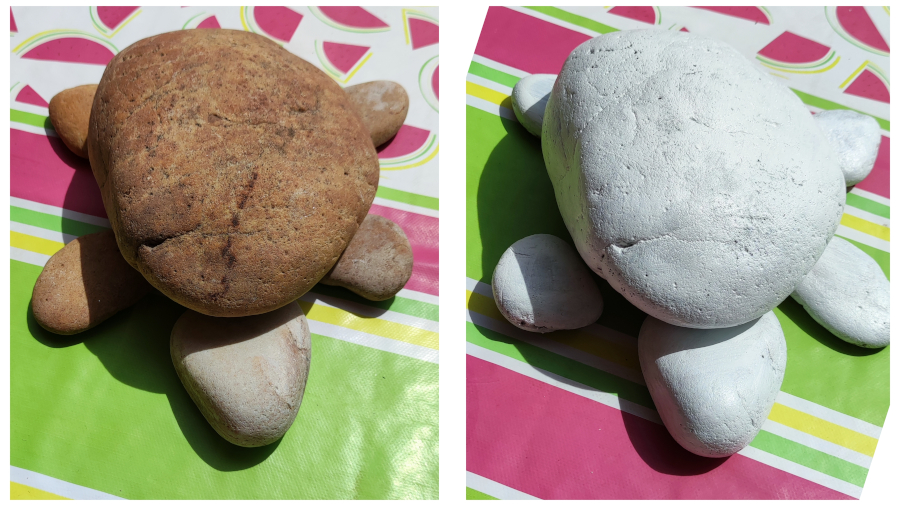
The First coat
We advise you to paint one coat in white with acrylic paint (or gesso) so that the colors are brighter.
The Legs
Wait for the white paint to dry out. For the impatient, you can use a hair dryer to make it dry faster 😉
Choose the color of your turtle. We chose blue to create an original turtle 😜
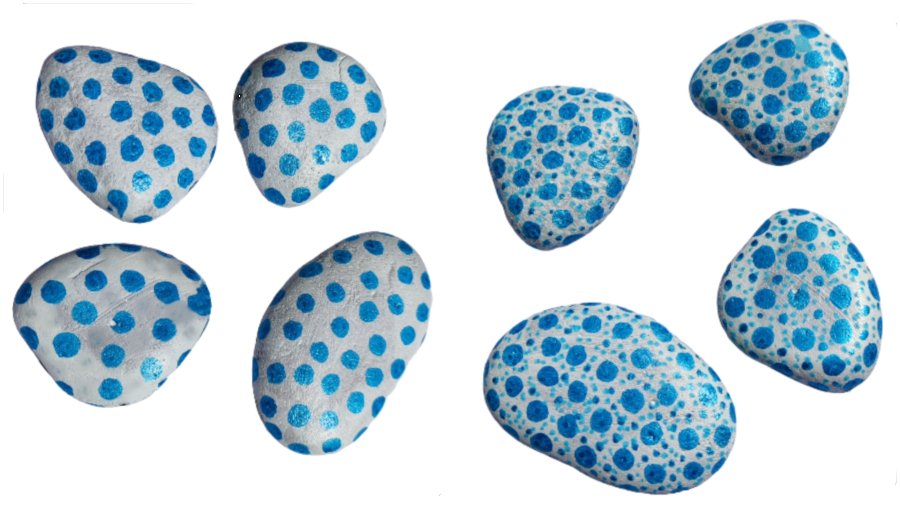
To paint the legs, we used 2 colors : dark blue (large circles and small circles) and light blue (small dots). We started with the big dark circles, then the smaller dark circles in the spaces and ended up with many little light blue dots.
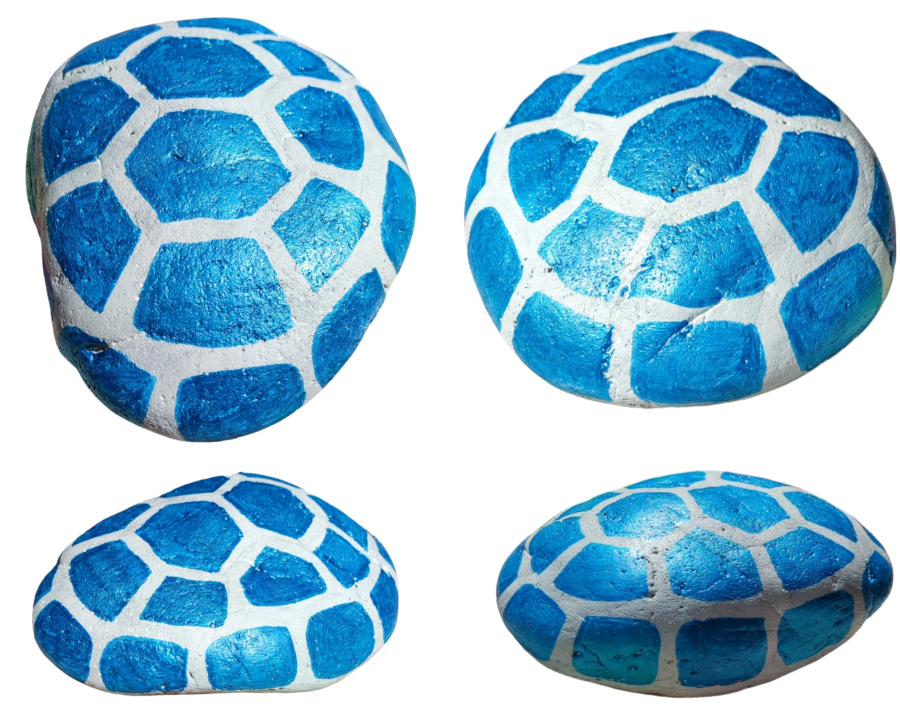
The Body
It's a good idea to do the patterns in pencil to reassure yourself. Here is the turtle taken from every angle :
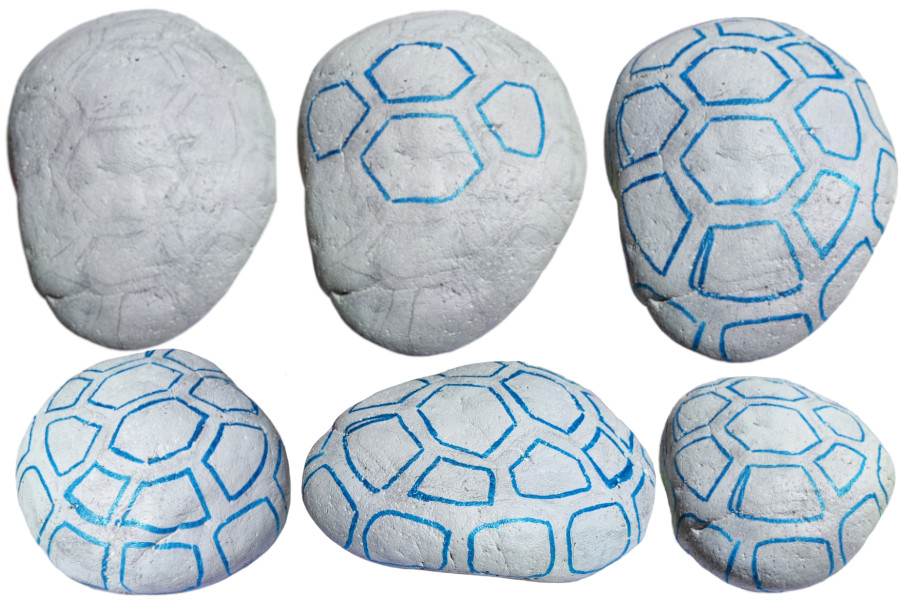
Then paint the inside of the scales and let it dry.
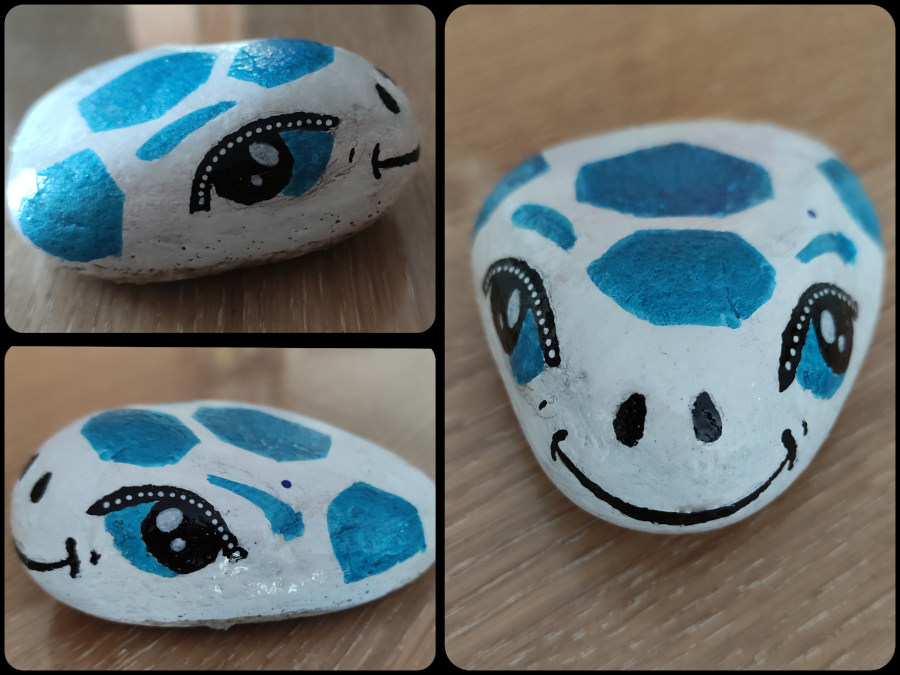
The Head
We advise you to draw the eyes first with a pencil. Symmetry is very important if you want your turtle to be a success. Draw both eyes then look at your turtle from the front and correct it. It's a pretty tricky step : we've done it several times 😉. Here is the head of our turtle :
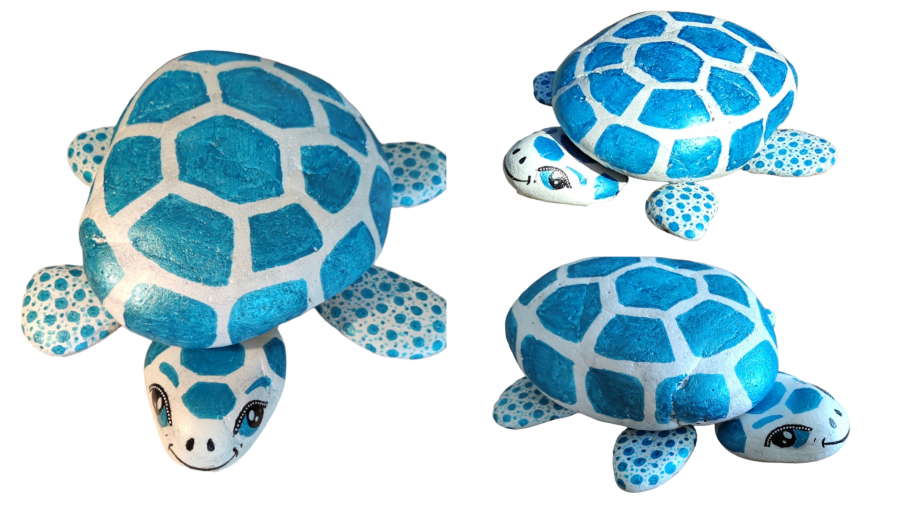
The assembled turtle
Apply a thin coat of sealer on each part. We advise you to use a UV resin (varnish) so that your turtle resists bad weather and keeps its vibrant colors.
Once the resin or varnish is dry, you can glue the pebbles together. If you leave the pebbles separate, the children will be happy to move the legs and the head to assemble it as they wish.
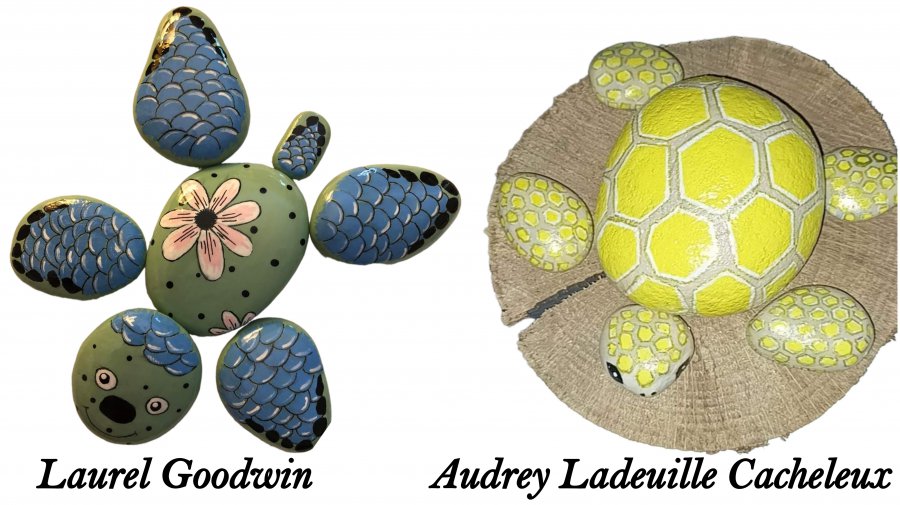
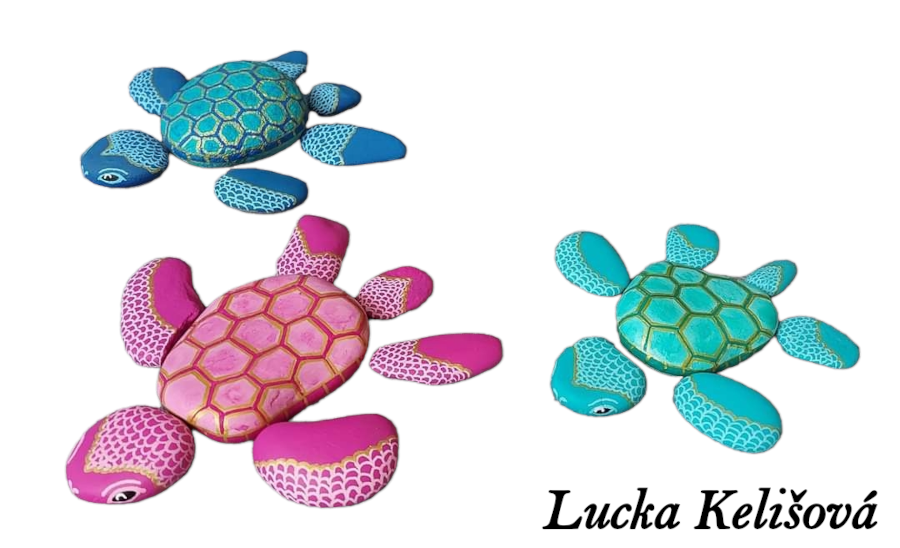
Here are some other super cute turtle designs :
Do you want to continue decorating your garden with painted rocks, here are plenty of ideas just for you !
Published : 2025-05-29