Step-by-step
Here are the main steps to paint a rock
In this post, we will start with how to paint rocks step-by-step.
What you need ?
- Rocks
- Acrylic paint 🎨
- Acrylic paint pens (Posca, Flysea felts, work well) 🖍
- A sealer to protect your creation
🔎 More detailed information can be found under "What you need" 👍
Reminder : do not stick things on that could be eaten by small animals or that could harm the environment.
1. Find a rock
It is necessary to find some smooth and flat rocks not too porous.
If finding rocks in your area is difficult, you can buy rocks to paint (in local landscaping businesses, ...) or even make rocks to paint.
Attention :
- In some places (beaches, etc.), regulations prohibit the collection of rocks in nature.
- No rock or mineral removal from natural parks
- Do not destroy the ecosystem, choose a rock that does not contain any living organisms, plants or animals.
2. Clean your rock and prepare the workspace
Start with clean flat rocks and wash with warm soapy water, rubbing them with a toothbrush. Then rinse and dry them.
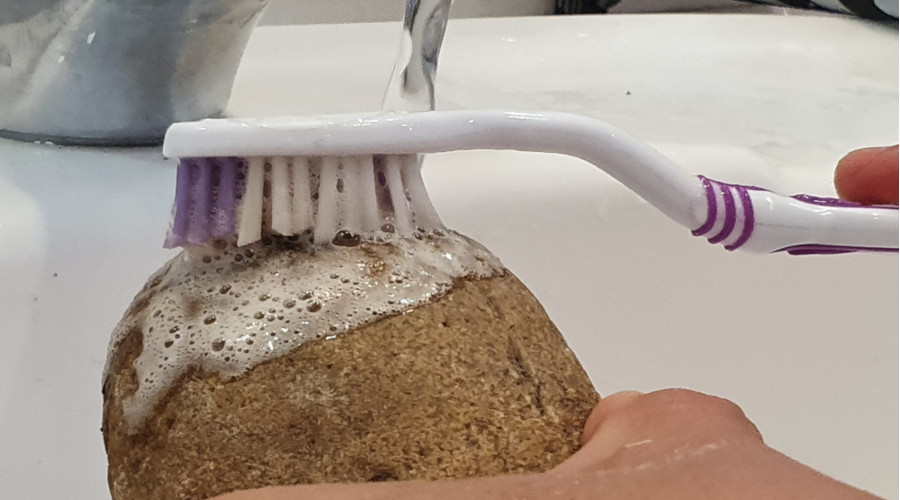
Protect your work surface (by spreading paper or old newspaper). Once the rock is dry, you can paint the top with a base coat of acrylic paint—pick any color you like. To base coat or not to base coat…It really just depends on your preference.
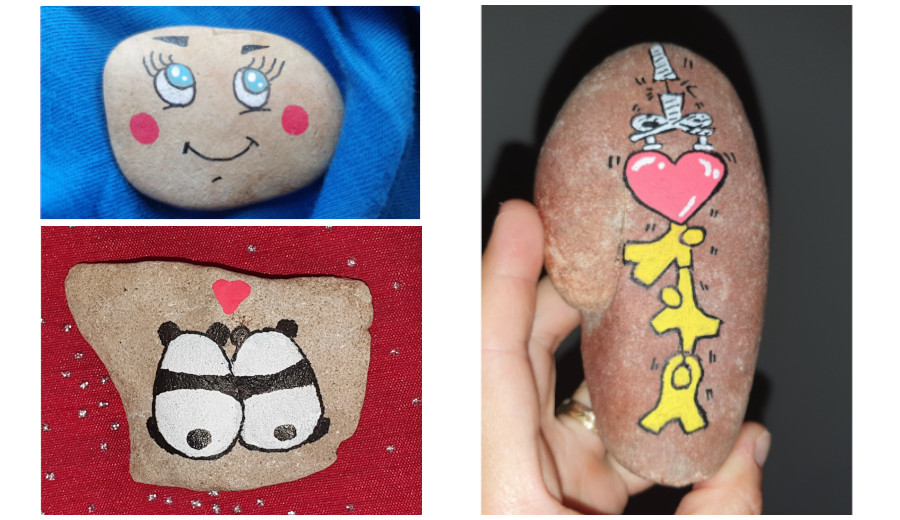
It is possible to make your drawing directly on the rough rock as the rocks below 👇👇👇
Wait for it to dry.
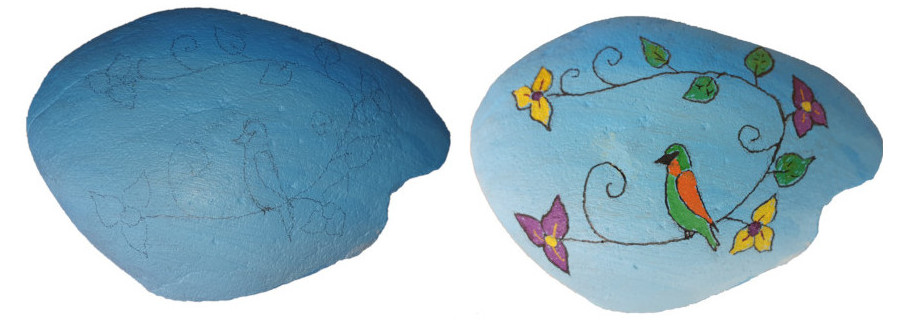
3. Paint the details
When the base coat is completely dry, add a fun design or write a positive note.
First of all, you have to choose a model or image to paint. You can find many from Google Images, Fb-Rocks Pinterest account, or the Gallery of this site 👍. You can visit our tutorials, there is something for all tastes and all levels 😉 !
You can draw your sketch in pencil. Do not press down too hard with your pencil so that the strokes are not seen through the paint.
Add small details using a fine or extra-fine tip acrylic paint pen or a small paintbrush.

4. Register your rock
Take a picture of your painted rock. Then click on "I register my rock" for the Fb-Rocks site to give it a unique reference. You could receive emails when your rock is found or hide it again and you can follow the way of your rock on Fb-Rocks !
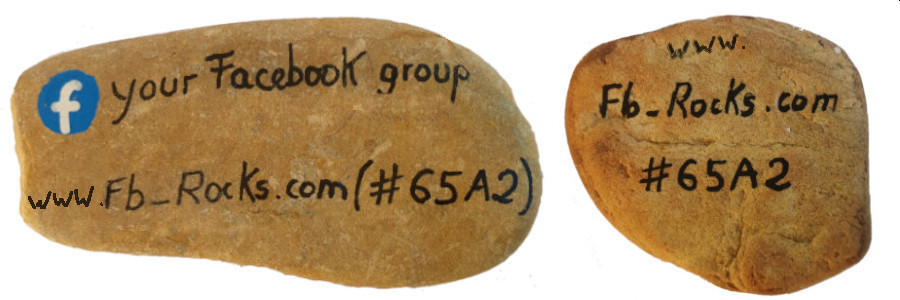
Write this reference on the back of the stone (#65A2 for example) and the name of your facebook group if you play with Facebook !
5. Let your rock dry
When you have finished painting your rock, let your rock air dry for several hours ⏱ . Make sure it is completely dry.
6. Spray a finishing sealer
Your creations need to be sealed to preserve the paint and the beautiful designs. A spray-on sealer will work just fine—just make sure it's a waterproof sealer.
Tips for applying the sealer :
- Wait until your paint is completely dry
- Do not seal too close to the rock
- Do not put too much sealer and rather apply with thin layers of the sealer
That’s it ! Your rock is ready! You can go hide it wherever you want!!
Do you want to play with us ?
- I register my rock
- I'm looking for rocks
- I want to know more about this game
- I want to see tutorials to help me
- What are the advantages of Fb-Rocks?
- What supplies and materials should be used for painting (acrylic paint, markers, varnish)?